COMMERCIAL COFFEE EQUIPMENT

WHAT WE DO
Bean and Brew Technologies specializes in the sales, repair, maintenance, and servicing of commercial coffee equipment and espresso machines.
WE SELL COMMERCIAL COFFEE EQUIPMENT
From high performance La Marzocco espresso machines to brewers and grinders, we supply industry leading equipment to ensure superior coffee quality.


FINANCING & LEASING OPTIONS
We offer flexible financing and leasing plans to help you get the right equipment without large upfront costs.
BESTSELLERS
Commercial Espresso Machines
Commercial Coffee Grinders
Commercial Coffee Brewers
Accessories
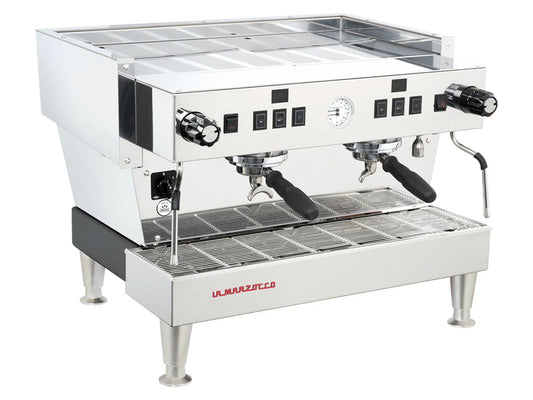
La Marzocco Linea Classic S AV
- Auto-Volumetric
- Dual Boiler
- Dual PID Control
In Stock
Financing options available
$12,370.00

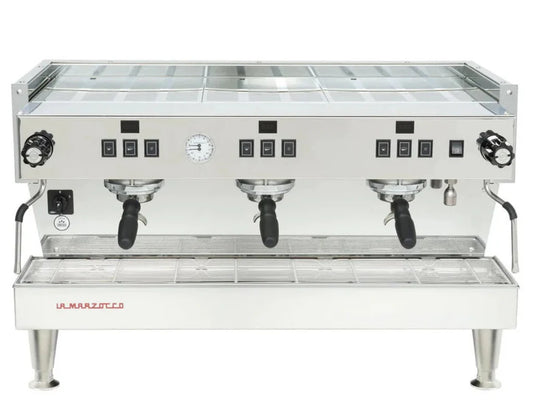
La Marzocco GB5 S Semi-Automatic
- Semi-Volumetric
- Dual Boiler
- Dual PID Control
In Stock
Financing options available
$0.00

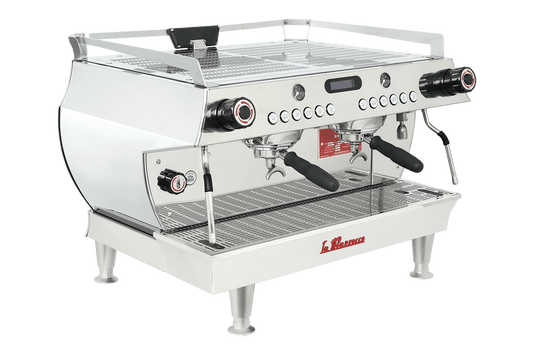
La Marzocco Linea PB
- Auto-Volumetric
- Dual Boiler
- Dual PID Control
Sold Out
Financing options available
$0.00

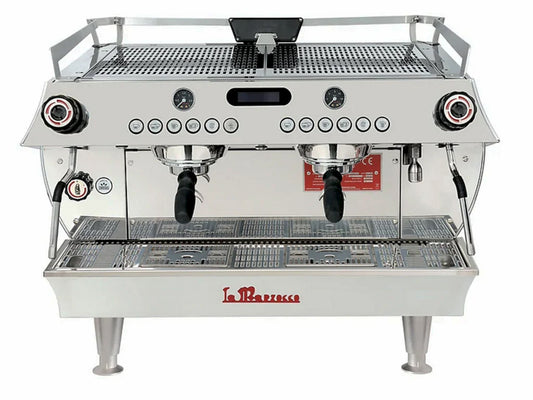
La Marzocco Linea Classic S EE - 1 Group
- Semi-Automatic
- Dual Boiler
- Dual PID Control
In Stock
Financing options available
$10,750.00
There are no product yet!
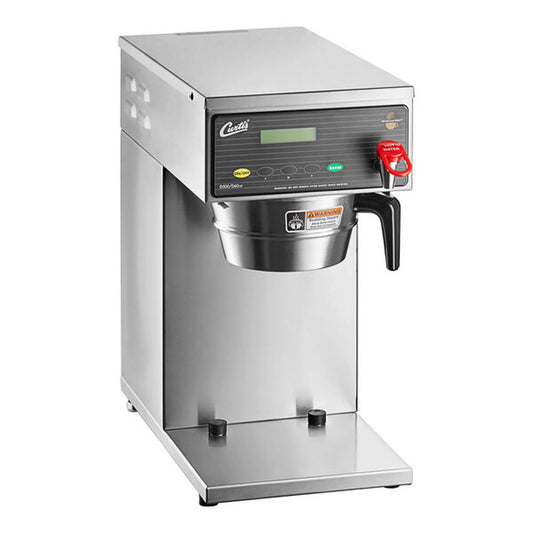
Curtis D60GT12A000 Low Profile Thermal Carafe Coffee Brewer
- Digital Control Module
- 64 oz. Brew Capacity
- 120v
Sold Out
Financing options available
$730.00
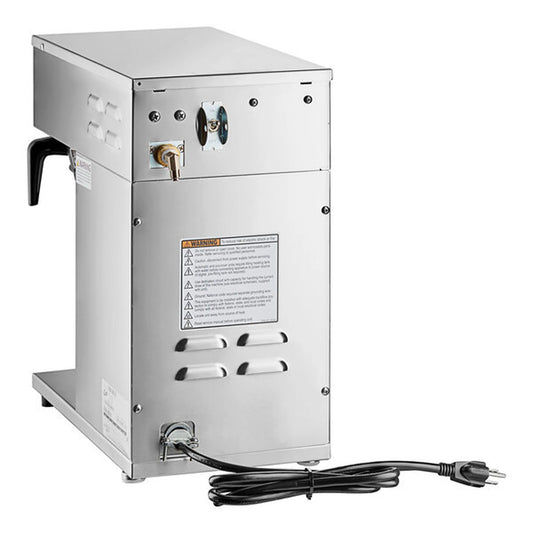
Curtis D60GT12A000 Low Profile Thermal Carafe Coffee Brewer
- Digital Control Module
- 64 oz. Brew Capacity
- 120v
Sold Out
Financing options available
$730.00


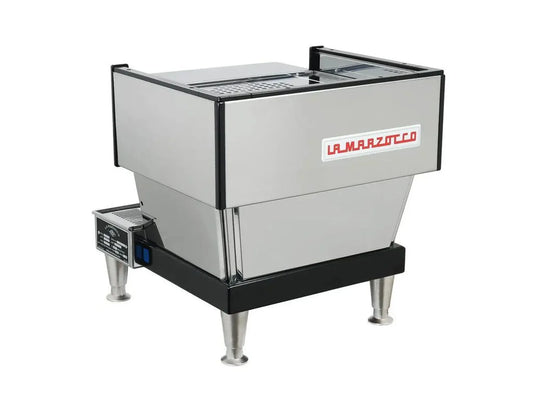
La Marzocco GB5 S
- Auto-Volumetric
- Dual Boiler
- Dual PID Control
Sold Out
Financing options available
$0.00
La Marzocco GB5 S Semi-Automatic
- Semi-Volumetric
- Dual Boiler
- Dual PID Control
In Stock
Financing options available
$0.00
La Marzocco Linea Classic S AV
- Auto-Volumetric
- Dual Boiler
- Dual PID Control
In Stock
Financing options available
$12,370.00
La Marzocco Linea Classic S EE - 1 Group
- Semi-Automatic
- Dual Boiler
- Dual PID Control
In Stock
Financing options available
$10,750.00
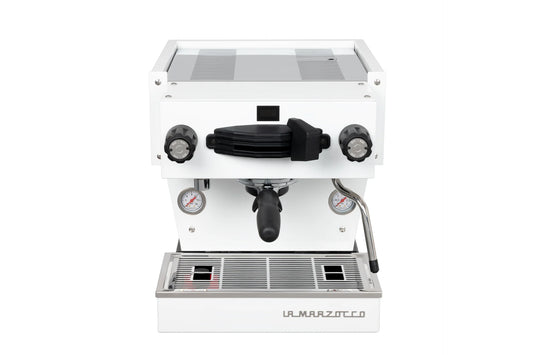
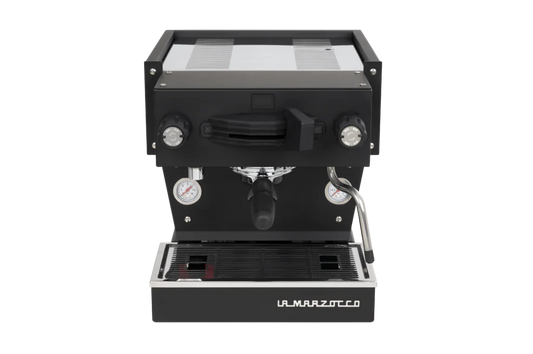
La Marzocco Linea Mini
- Semi-Automatic
- Dual Boiler
- PID temperature control
Sold Out
Financing options available
$0.00
La Marzocco Linea PB
- Auto-Volumetric
- Dual Boiler
- Dual PID Control
Sold Out
Financing options available
$0.00
WHY DO CLIENTS CHOOSE US?
We are local. We work with local cafés, roasters, and restaurants who love coffee
as much as we do.
as much as we do.


Find the Perfect Coffee Equipment
Fast, Affordable, and Hassle-Free
At Bean & Brew Technologies, we help you save weeks of research by offering high-quality coffee equipment tailored to your business needs, budget, and goals. Take advantage of flexible financing, professional installation, and customized solutions at competitive prices.
FAMILY OWNED AND OPERATED
We bring pride, integrity, and personal care to every job because this is more than just business, it’s our family's reputation on the line.
BEAN & BREW TECHNOLOGIES
QUALITY COFFEE EQUIPMENT & SERVICE FOR NJ & NY BUSINESSES
At Bean & Brew Technologies, we specialize in commercial coffee equipment sales, exceptional service, and reliable repairs for businesses in the hospitality and food service industry. Whether you operate a café, restaurant, hotel, or office, we provide tailored coffee solutions to meet your needs.
TESTIMONIALS

"Bean and Brew Technologies exceeded my expectations! Their team responded quickly, diagnosed the issue with my espresso machine, and had it running perfectly in no time. The technicians were knowledgeable, professional, and honest about pricing. I highly recommend them to any café or business needing reliable coffee equipment service and repairs."